Manage Lists
An email list, sometimes known as a distribution list, is a group of email addresses combined under a single name, allowing users to send messages to multiple recipients simultaneously and efficiently. For example you can create a list for the sales team, where if someone sends an email to sales@example.com, it will send that email to multiple email addresses, such as mary@example.com and joe@example.com.
Create a List
- After your signed into your Client Portal: https://my.nesswebsolutions.com/clientarea/
- Navigate to your Email product
- Click on Manage Lists
- Click on Add List, on the left side of the screen
- In the Name field, type in the email address you want created. For example, if you want the email address to be sales@example.com, type in "sales" in the field.
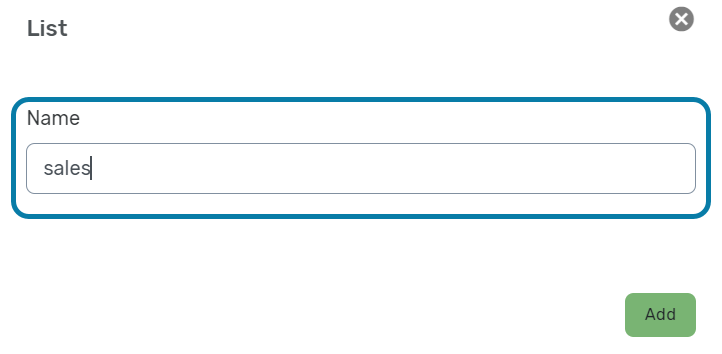
- Click Add
Adding or Editing List Members
- After your signed into your Client Portal: https://my.nesswebsolutions.com/clientarea/
- Navigate to your Email product
- Click on Manage Lists
- Click on the list name
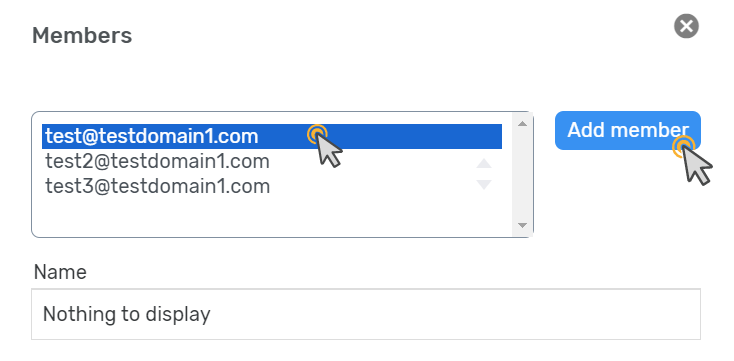
- Click on the email address you want to have added to the list
- Once the email address is highlighted, click Add Member
- If you want to delete a member from the list, click Delete
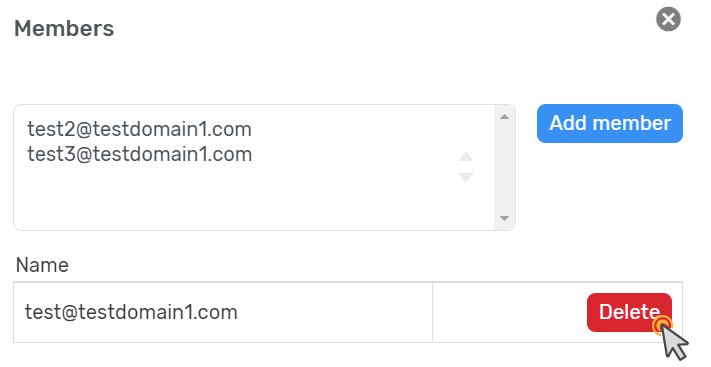
- Once you are done editing the list, click on the "X" in the upper right hand corner.